
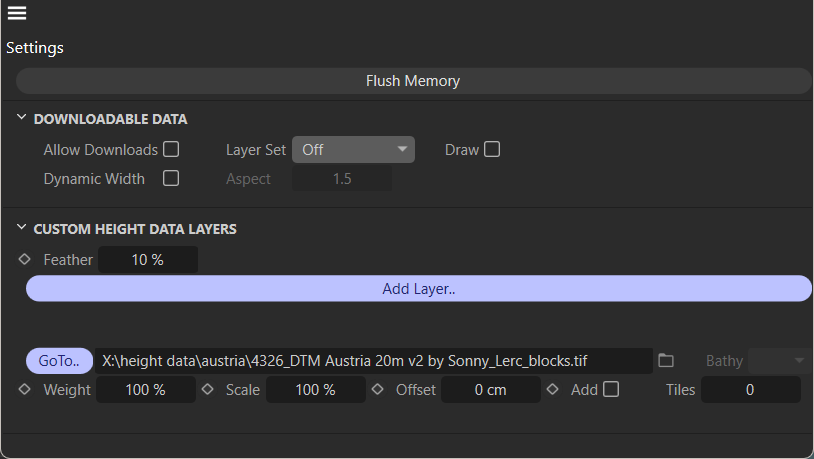
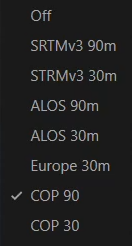
In R5 the default is now COP90, which gives full worldwide coverage.
The "Draw" option displays a box around loaded data tiles in the viewport. This only applies to the Tiles delivered and used by DEM Earth, not custom layers.
This is useful to see the extent of the data you have loaded. Especially if you are sending your scene to Team Render.
TIP: If you hold down shift and hover your mouse over the landscape, the data source tile name is displayed in the status bar.

The "Aspect" setting lets you distort the projection.
For larger areas, be sure to only choose the 90m layers. Otherwise it takes longer to download and consumes a lot of resources both locally on your machine, and on our servers.
i.e. a 30m layer is typically 9 times more data than a 90m layer. That means it takes 9 times longer to download, 9 times longer to extract, and consumes at least 9 times more memory.
Once you have downloaded the area you require, you should turn off downloads, by disabling the Allow Downloads option.
Flushing memory clears all data from ram and reloads it.
TIP: If you hold down shift, and press flush, it will force reload of any blocks that may have previously been identified as missing.
Notes
- SRTMv3 only goes up to 60 degrees north/south.
- Europe obviously only covers Europe.
Custom Height data
if you have your own data layer you can insert it here.
the feather option defines how your custom height data blends with the base data (i.e. how it transition into SRTMv3 90m)
- A custom data layer can be an ASC height grid in WGS84 geographic. it must be in geographic coordinates.
- tiff can be used as well, as long as it is 32 bit, and stripped for any georef data. it needs a matching world file for referencing.
- You can order custom height data from cinemaplugins.com. Just get in touch or make a support ticket. Let us know what data you need. Best is to make a gpx file for the area you are interested in and send it with your request.
You can use programs such as global mapper to produce custom data, but teaching you how to use those programs is not part of our support.
In R6.225 or greater special handling was added for layers containing bathymetry (values below sea level).
- When you add a layer, and bathy is detected (values below sea level), it will ask you if you want to treat the layer as bathy. if you answer yes, it sets any values above zero to "nodata", which means they are replaced with normal height data. It also scales up the layer so that it matches the resolution of loaded height data. That can then be expensive on memory if you are working on a huge area.
- Please be aware of the memory requirements required to ensure that low res bathy can merge well with higher res height data, without nasty artifacts. This requires that a lower res layer be scaled up to match the geographic sampling of the higher res base height data.
Simply add a geotiff to the data manager. if it is the right EPSG:4326 projection, it will simply load. The only limitation is the amount of RAM you have. Huge Geotiffs can be loaded very quickly.
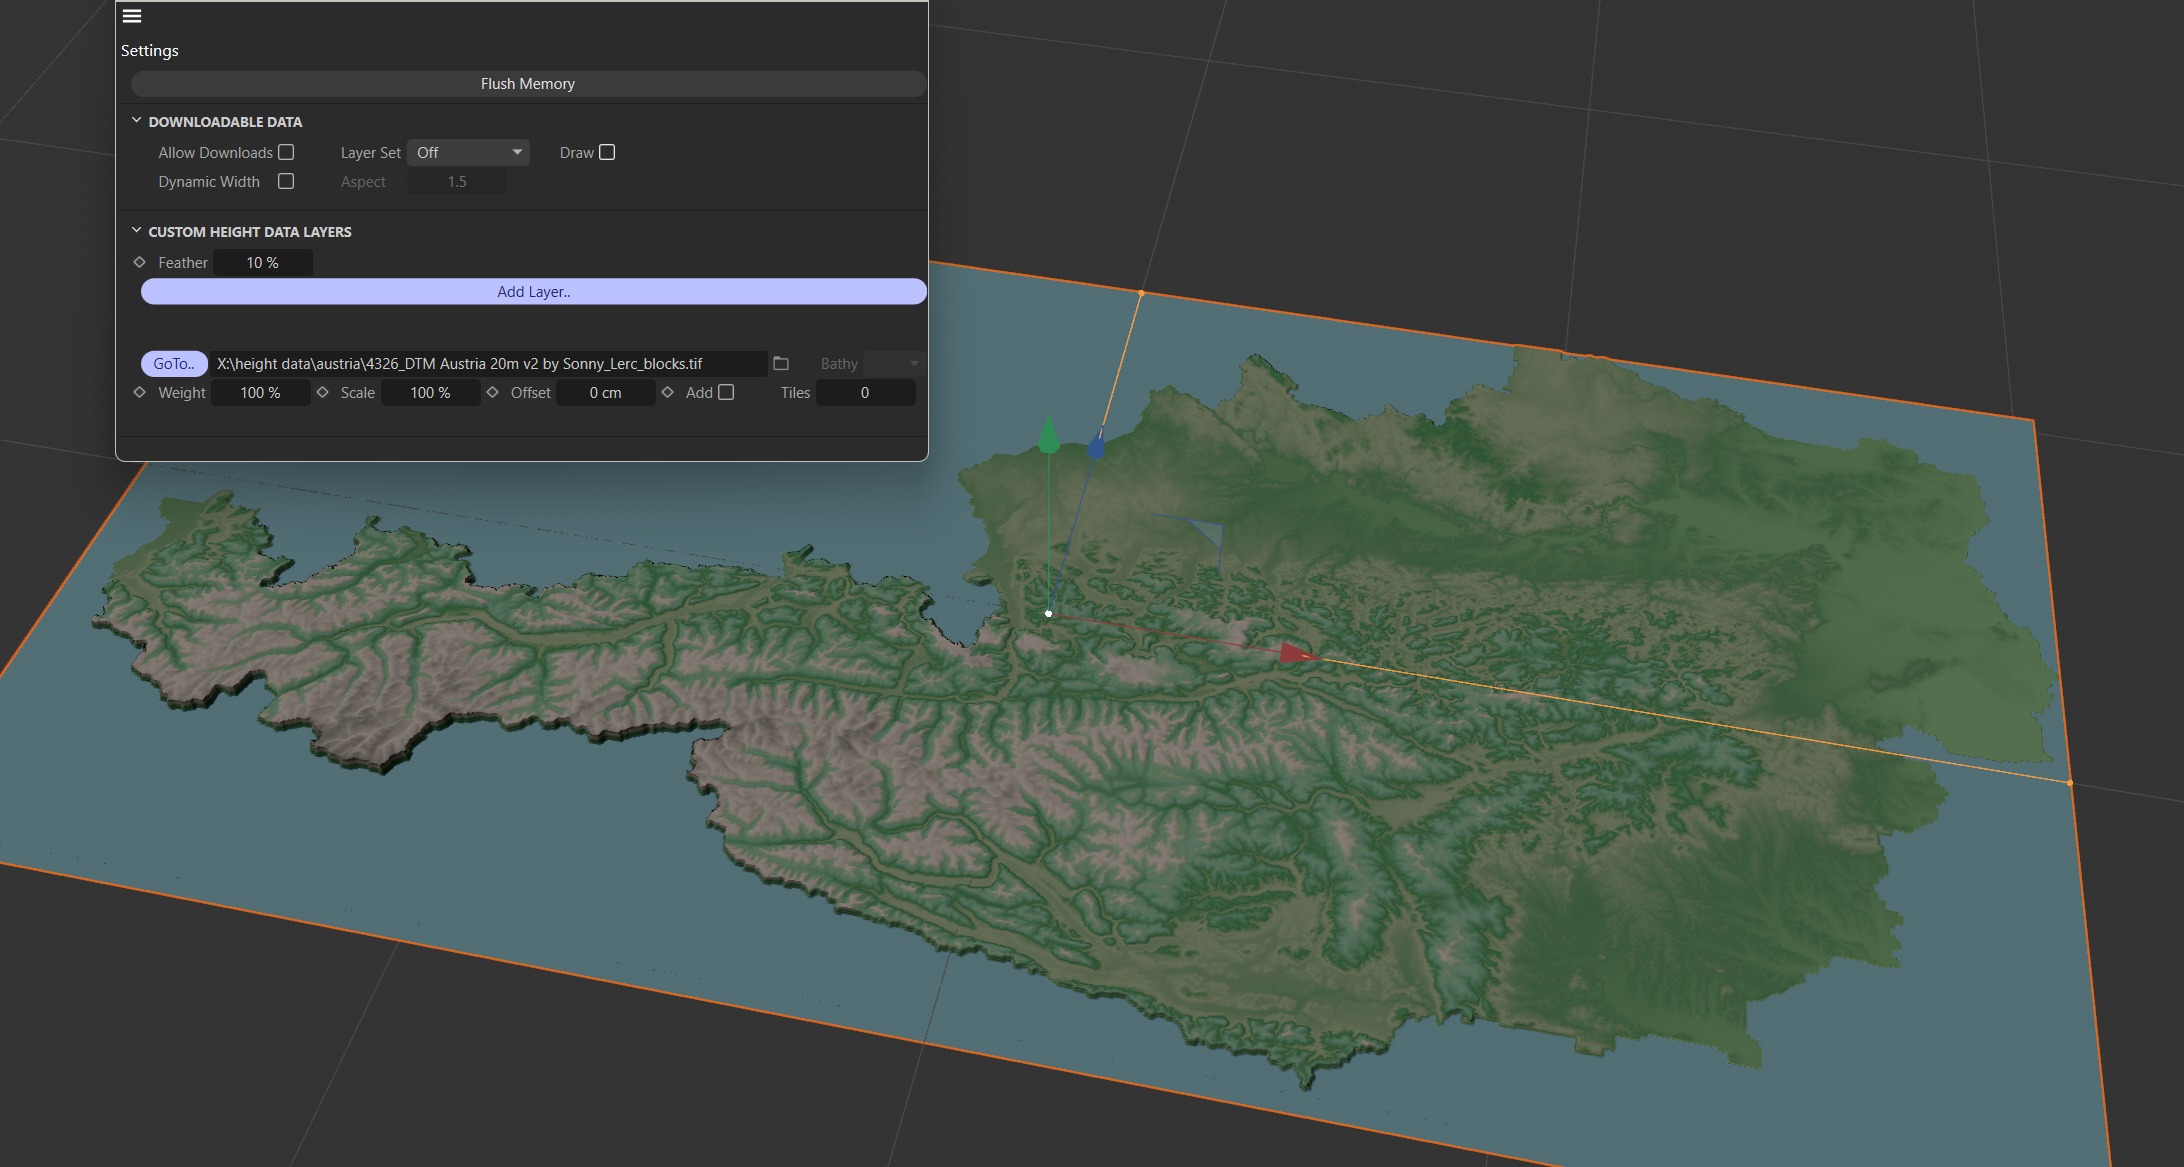
Per Layer settings.

- You can then press "Goto.." to focus on a loaded layer.
- To add height data layer , just select a geotiff.
- To remove a layer, delete the filename.
- If a file is not in EPSG:4326, you will be told to either manually reproject the file before loading, or to set up a link to QGIS to warp the file to 4326.
- If DEM Earth initiates the warp, on windows, a Command window will open and run gdal wap with the required settings. Let that complete. Once that warp is finished, add the file again, but this time choose the file with the 4326_ appended before its name. This wil lthen instantly load into the Data manager.
- if a layer has values below sea level, you will be asked if you want to treat it as bathy or not. This effects what happens to it when it is loaded. if you choose "bathy=yes", any values above sea level are clipped and converted to NODATA. this allows prev layers in the stak to merge with a bathy layer.
- Weight: the blending weight between this layer, and the previous layer. if there is no previous layer, this is always 100% (i.e. there is nothing to blend to)
- Scale: a multiplier for the values in the layer. i.e. if a value is 1000m, and this scale is 50%, the value will return as 500m. That is what is then merged to the previous layer.
- Offset. Add a meter offset value to all values in this layer.
- Add: Additive mode. Adds the layer to the previous layer result (if there is one).
- Tiles : 0 is off (no tiling). greater than 1 is the tiling amount. i.e. 2 will tile the layer twice. if you set -2, you get 2 tiles mirrored.
LERC rocks!

When you use DEM Earth QGIS link to warp geotiffs, they are warped to single channel floats using Lerc compression. This allows for highly compact DEMS which later load instantly. DEM Earth has its own crazy fast threaded GeoTiff loader, which can also load Adobe deflate, deflate, LZW,etc, but especially leverages Lerc compression for near instant loading of Huge geotiffs, which c4d can not otherwise load at all, or within a reasonable time. The DEM earth Geotiff lerc loader is literally 100x faster at loading very large geotiffs than the native c4d bitmap tiff loader is..